← Prev Next →
BL34

BL class locomotives were purchased by Australian National railways in the 1980s and built in Rosewater, SA. Victorian Railways followed by purchasing 6 of the same locos, becoming the first batch of G Class locos (G511-G515).

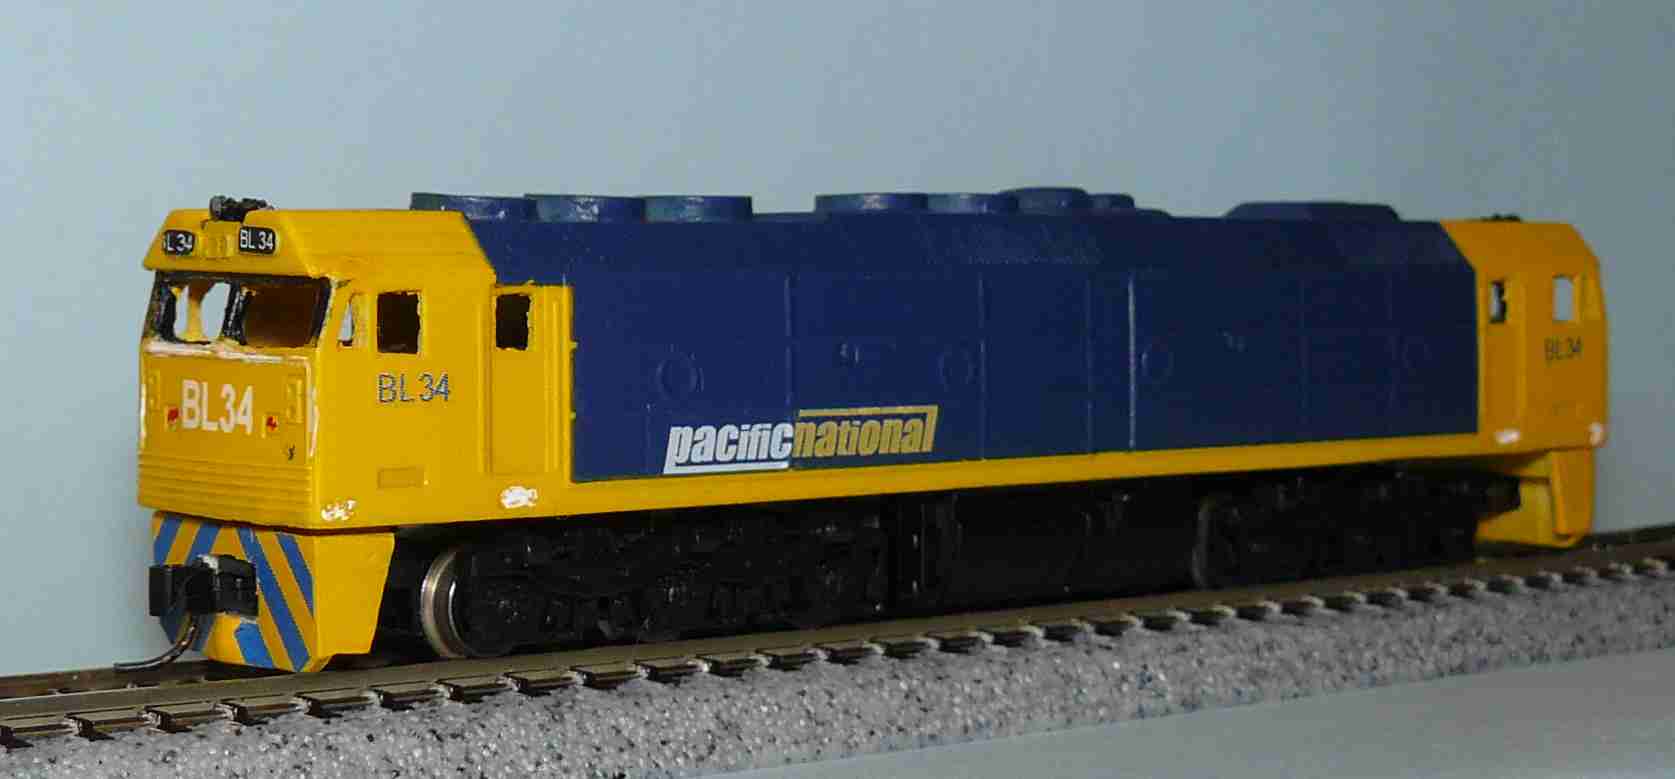
For a number of years now, BL34 has earned its keep on the broad gauge steel train between the Melbourne Steel Terminal and the BlueScope Steel (formerly part of BHP, like me) steel works at Hastings. It had its first run in the Pacific National livery in January 2008.

This model comes in kit form from SAR N Scale Detailers. The polyurethane body is made under license from the Aust-N-Rails master used in the G/BL range of ready-to-run models one of which is G512 on this web-site.

SAR N Scale Detailers offers kits with the choice of Pacific National, Freight Australia (see G513 here), Freight Victoria or SCT livery decals.

Model construction notes:

Components

The Mech This is not supplied with the kit, you have to get your own. The kit is designed to use an Atlas SD7, SD9, SD24 or SD26 which are basically the same mech. See the note on adapting Atlas and LifeLike SD7s under the General Info tab above for more information on what is involved here.

Degree of Difficulty

Painting Painting is fairly easy. Spray painting gives the best result. I did a base of yellow (Raileys Golden Yellow), then masked and sprayed the blue (Raileys Royal Blue), with some careful black detailing around the windscreens.
Decals The decals are all fairly small (not too small) and simple to apply.

Assembly guide

The biggest challenge in the painting is the black around the windscreen. I've used a brush for this and found it a bit tricky making sure none bleeds around the corner staining the yellow side. If that happens, you'll need a little touch up with the yellow.

Assemble the couplers and screw into position. Use the Microtrains Tap and Drill kit to pre-drill screw holes.

The wheel base in the Atlas mechs is too short for a G Class. However, the pivot point for the bogies is off centre and they can be turned around giving a longer wheel base. It's still a little too short but not bad and far simpler than any other options. The instructions supplied with the kit and available on SAR N Scale Detailers web site explain how to do this, if you want the slightly more accurate model. It's a little bit tricky and scary the first time but mine survived the ordeal as did I.

Putting the pieces together is dead easy. Put the skirt over the mech and then slide the body shell over the top. Done.